When most customers custom bronze sculptures, they are often curious about how to make a bronze sculpture. The most classic method of making bronze sculptures is called lost-wax casting. In this process, YouFine hand artists will spend a lot of time and effort to follow every step.
We have made various styles of bronze sculpture such as figures, animals, abstract art sculptures, and other bronze sculptures. Our YouFine has engaged in this field for more than 41 years, so we have rich experience, you could trust our bronze sculpture quality.
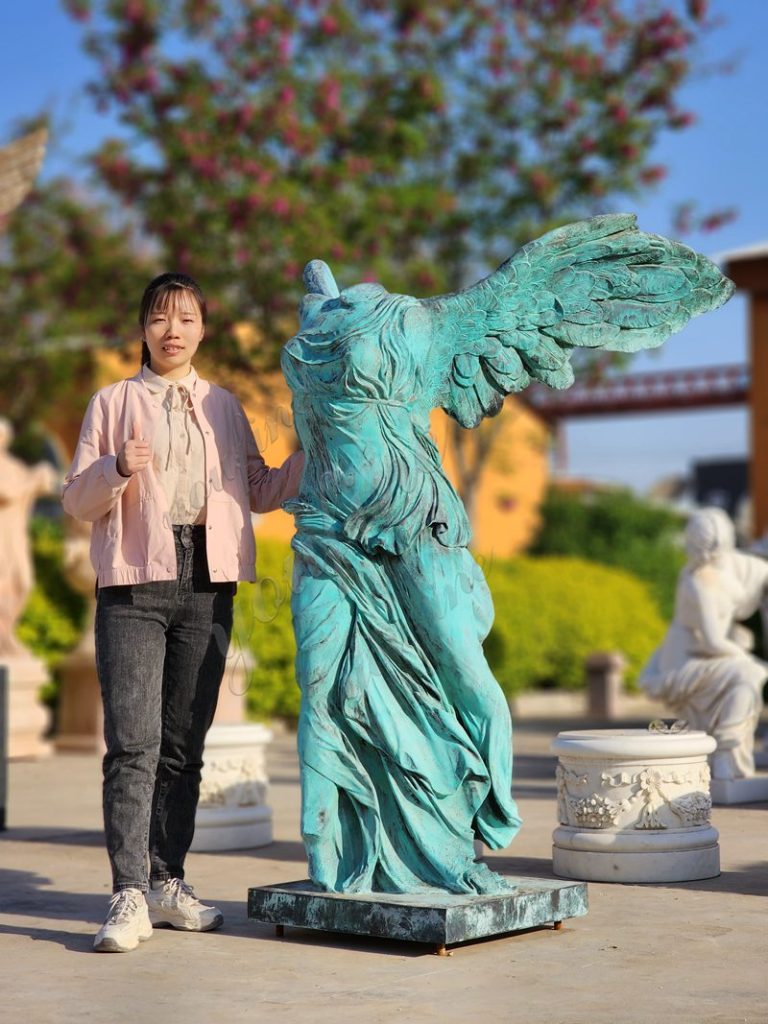
Step 1: Make a 1:1 Clay Model According to the Original Drawing
Making clay models is a very important step in our bronze sculpture, it decides the degree of restoration of the custom bronze sculpture. The process of making clay models is very dedicated.
First Our hand artists need to use the soft clay to create the skeleton structure according to the original drawing, with a metal skeleton supporting the soft clay.
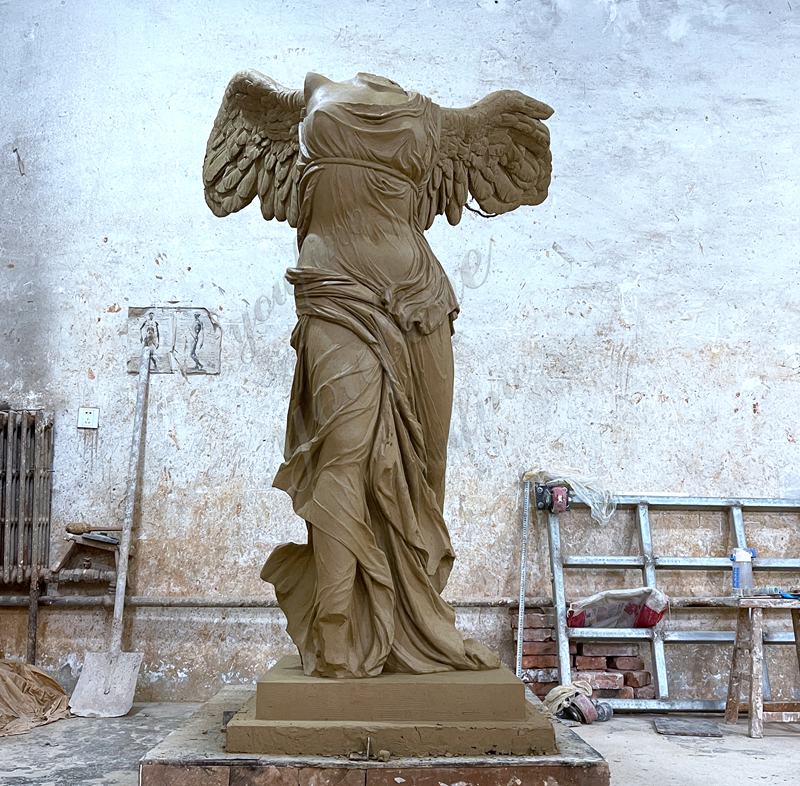
Second, our artists will modify the details of the clay models according to our clients’ needs. As we all know the clay is very soft and with a unique feature, so it could allow us to crave subtle details such as the facial expressions of figure sculpture and the muscle lines and posture of animal sculpture.
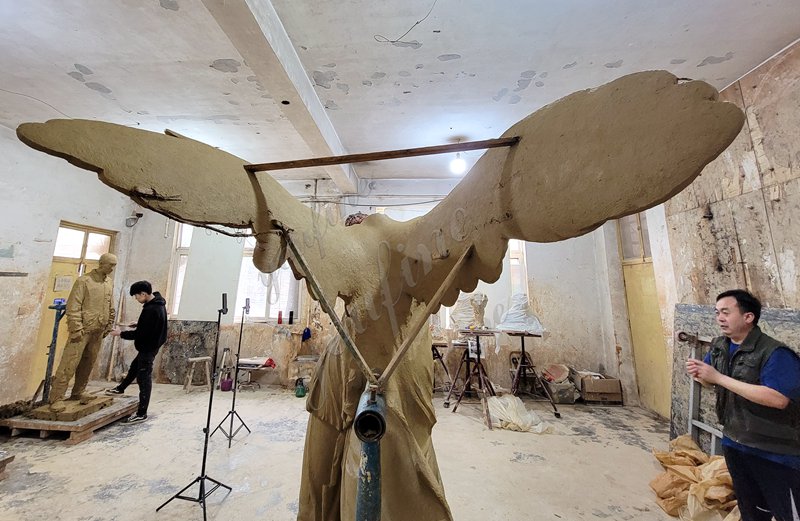
Third After getting our clients’ approval of the details of each part of the clay mold, dry the clay models.
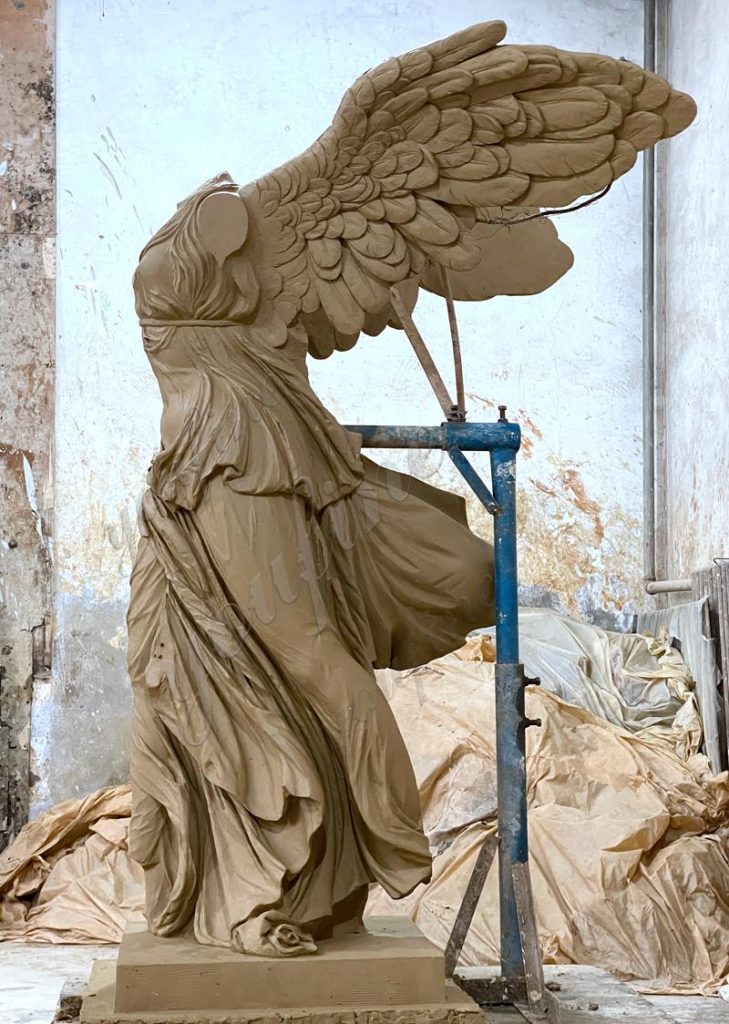
Step 2: Turning Clay Model Using Plaster Mould or Silicone Rubber Mould
In order to restore the original sculpture better, we will use liquid silicone mould to apply to every one of our clay models, to make a negative mould of the clay piece, when the silicone mould cures, we will put it into a plaster master mould to hold the form in place. during the solidification process, all the details of the statue would appear exactly, for example, the hair, the eye, and other fine parts of the statue.
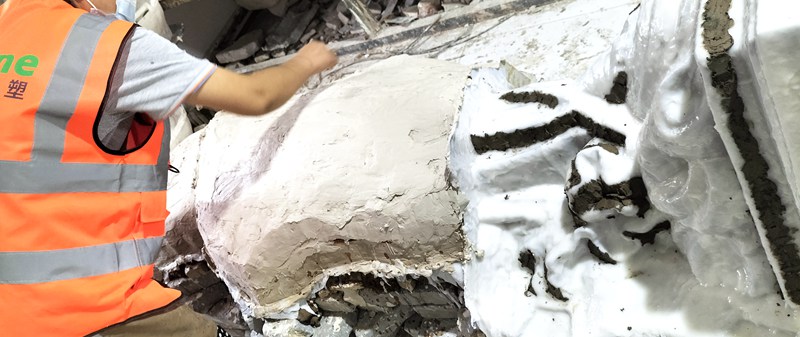
All of our mould is unique, is used to duplicate the limited edition sculptures, and will be destroyed once the full edition has been cast.
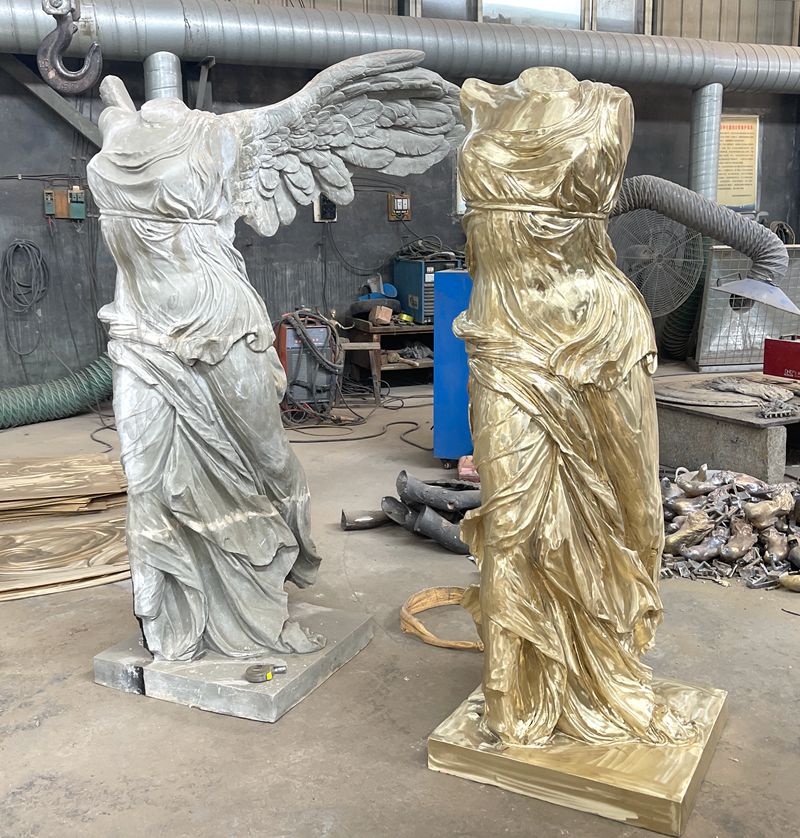
Step 3: Making and Chasing Wax Mold
Remove the original clay mold from the silicon Mould, heat the wax to approximately 200 degrees Fahrenheit, and then pour the melted wax into the plaster Mould or silicone Mould.
The first hot wax layer fills in the mold details, while subsequent layers of cooler wax (160-180 degrees) form the shape to a thickness of 1/8 to 3/16 inch.
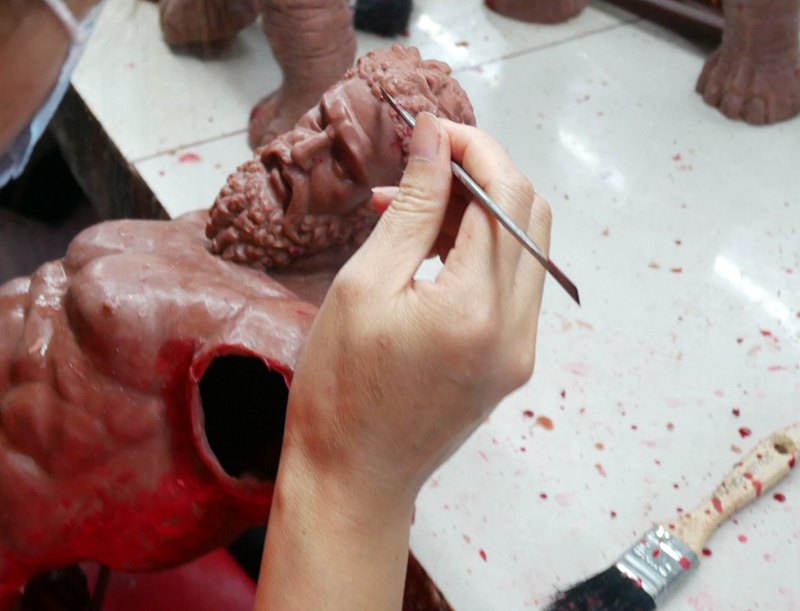
When the wax Mold is cold, we will open the Mold according to the seam and then get the wax Mold. After that, our hand artists will modify the details of the wax Mold.
Next, our artists use professional tools (carving knife, Needle, etc.) to chase the wax mold. Also, our attentive female artist chases the wax exactly according to the original pictures and clients’ requests, trying their best to make sure the wax mold is also 100% the same as the original.
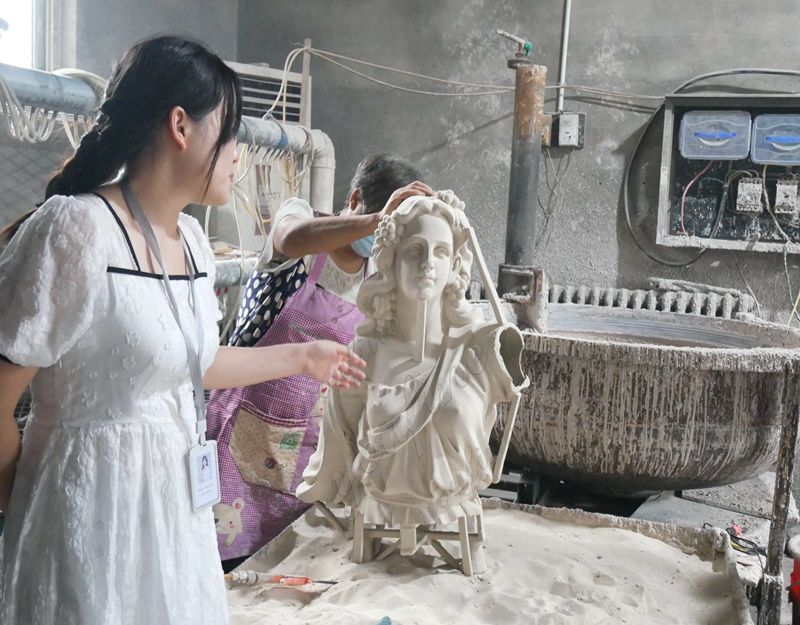
Step 4: Making Sand Shell
After getting the full wax shell, our hand artists will warp white fine sand on the wax mold, this process will be repeated 6-7 times.
The white fine sand we used is the best quality in China and comes from Inner Mongolia. Our artists with the richest experience would choose the sand in person, in order to ensure the final sand shell is cleaner and does not affect the final fine surface of the sculpture.

Importantly, in this process, we add Silica sol(one nano-material, with strong acid resistance), which is very different from traditional ammonia(ammonia is acidic and makes the bronze color change after rain), would avoid the statue white spots, which can damage the sculpture. So you can trust our YouFine bronze sculpture quality, it can remain excellent for many years.
Step 5: Burning Out the Wax Mold
When the sand shell molds are dried and solidified, put them into the extra high-temperature environment (about 800 degrees), burn the wax in the shell completely, then the liquid wax flows out from the sand holes, creating a hollow cavity, so-called lost-wax casting.
Step 6: Casting the Bronze
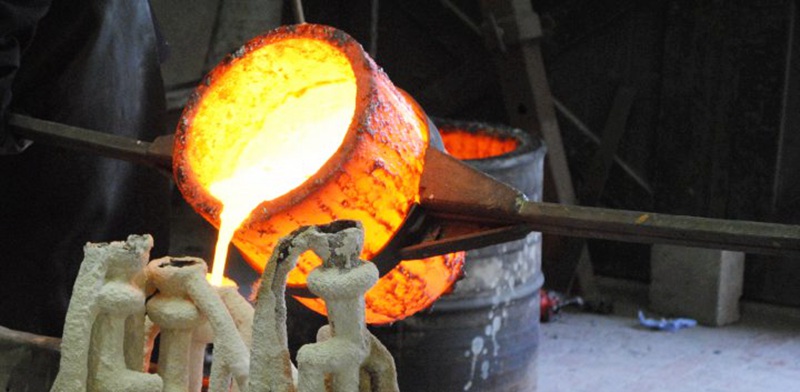
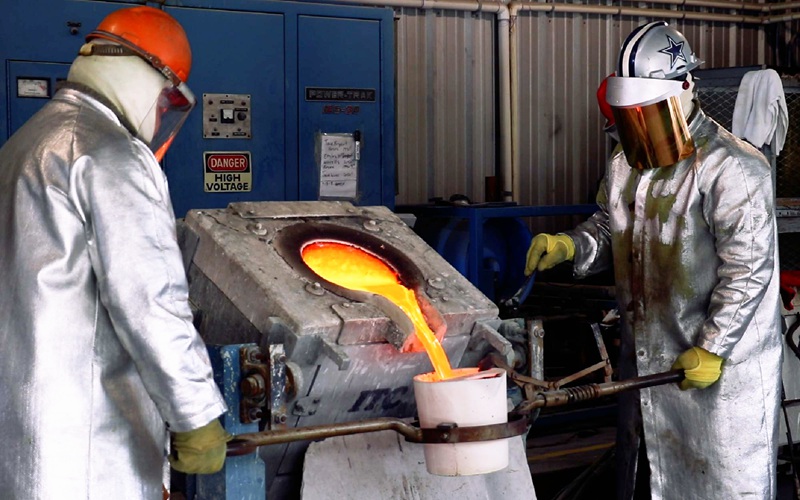
Many of our professional artists will together pour the liquid bronze into formerly made sand shells, and repeat this process many times until the liquid bronze covers every part.
Remove the copper sculpture after cooling.
Our bronze thickness reaches 6-8mm, which is better than the usual 3-4mm.
Step 7: Welding and Polishing the Bronze Sculpture
Our artists will fully understand the customer’s needs before making the bronze sculpture, they will weld and polish the bronze sculpture repeatedly according to the customer’s requirements.
Welders would weld the bronze pieces together according to original requests. During this process the most import to make sure the structure is perfect, or the total sculpture is far away from the original if comparing them together, YouFine welders need to learn clients’ requests and the structure of the original artwork before they start to work, in this way to make sure YouFine sculpture structure perfect.
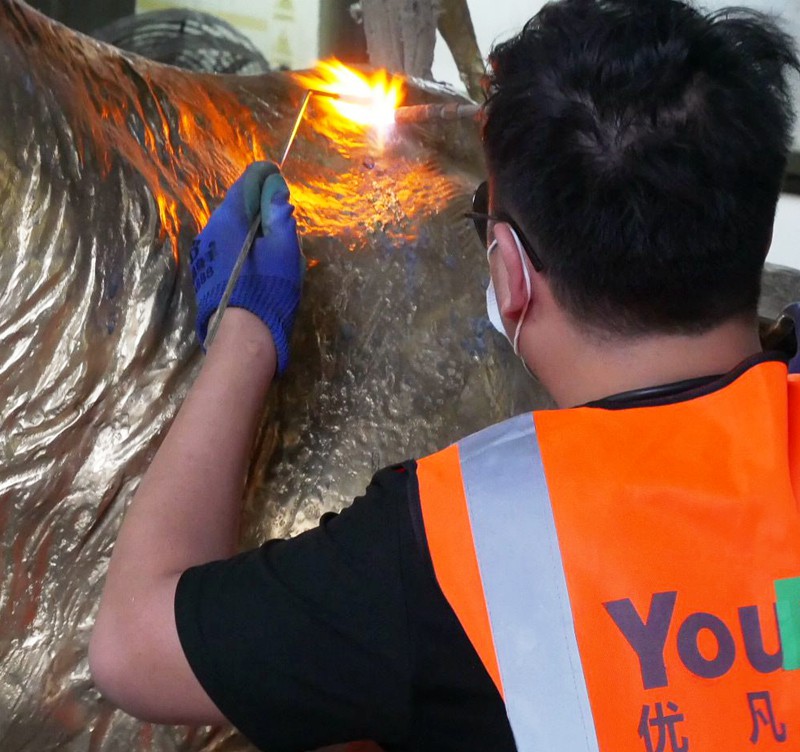
After welding the bronze statue, our artist would polish the statue carefully. Either too much polishing or too soft polishing is not good. You Fine team request our polishing top masters to polish the structure just right. Not only keep the details of the hairs and eyebrows etc. but also show the total taste of the whole work. No doubt, You Fine bronze sculpture is close to the original one very much.
Step 8: Applying the Patina of Bronze Sculpture
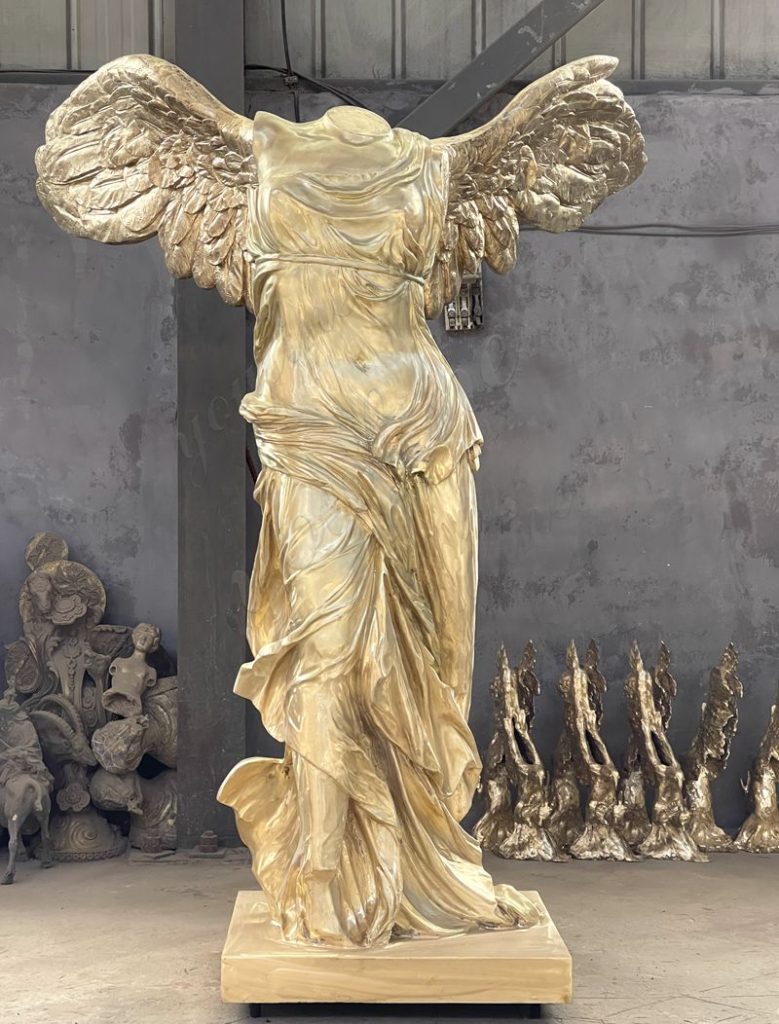
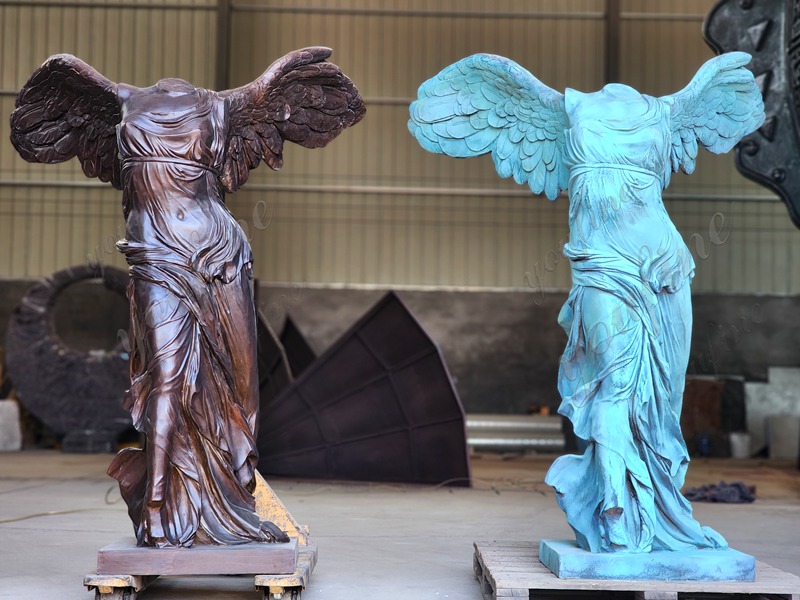
The colors of the cast bronze sculptures we see usually are natural colors in our daily lives, but there is also a very wide range of colors, such as copper-green, purple copper, golden yellow, and so on.
So we usually use chemical coloring and have a professional colorist with rich experience. YouFine artists use patina to make the bronze statue, which means modulating different chemical liquids together to a different degree, then pouring the liquid on the bronze surface with heating, the beautiful final patina color comes out after several layers of color changing.
So you can trust our patina effect. Of course, the patina would ensure the statue is more natural and nice as time goes by. And, after centuries years, our bronze sculpture could not fade.
Step 9: Maintaining the Bronze Sculpture
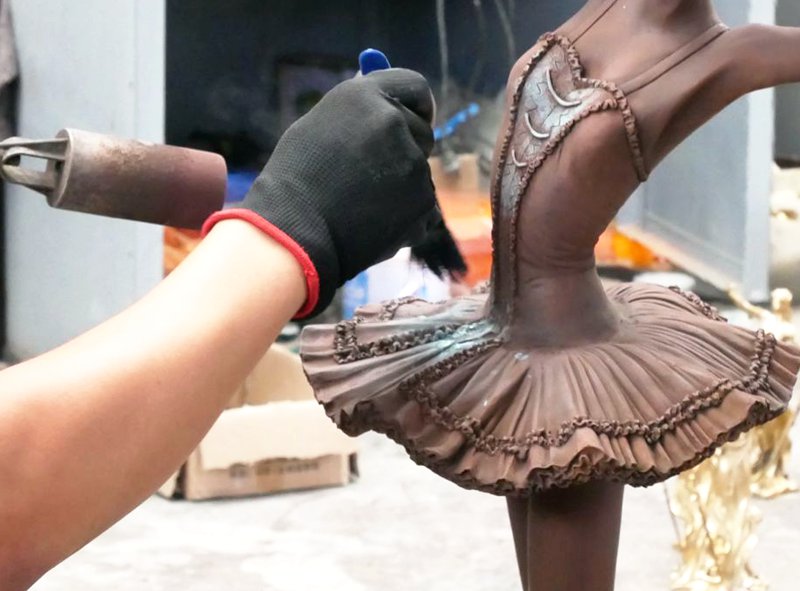
After the patina color, there are two methods to maintain the bronze surface. The first one is using wax to protect the bronze sculpture surface, normally top masters would heat the wax to liquid, then brush the wax to the patina’s surface softly, and at the same time use a spray gun to heat the surface making sure the wax be one protective layer. In this way, the patina color would last many years whether under strong sunlight or heavy snow.
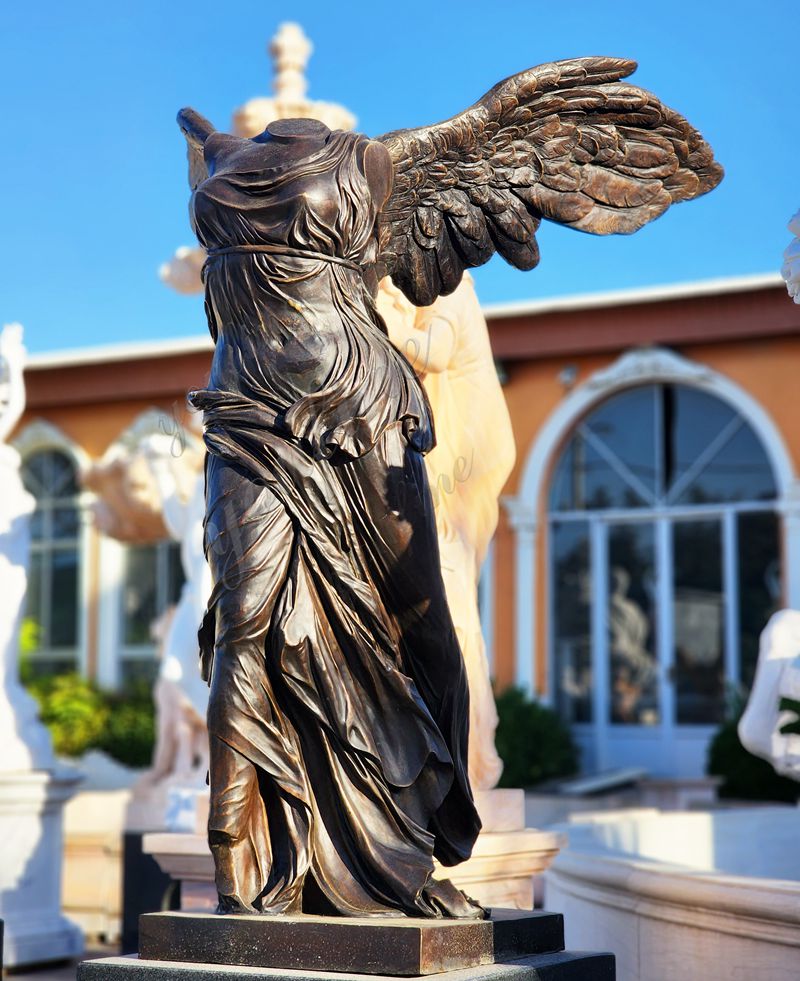
The second way is to spray a little bit of varnish on the surface of the sculpture, which would form a smooth film, which could well protect the bronze sculpture from dust and rain. Cause the varnish is transparent, which would show the original natural surface of the bronze sculpture, no change to the original patina color.
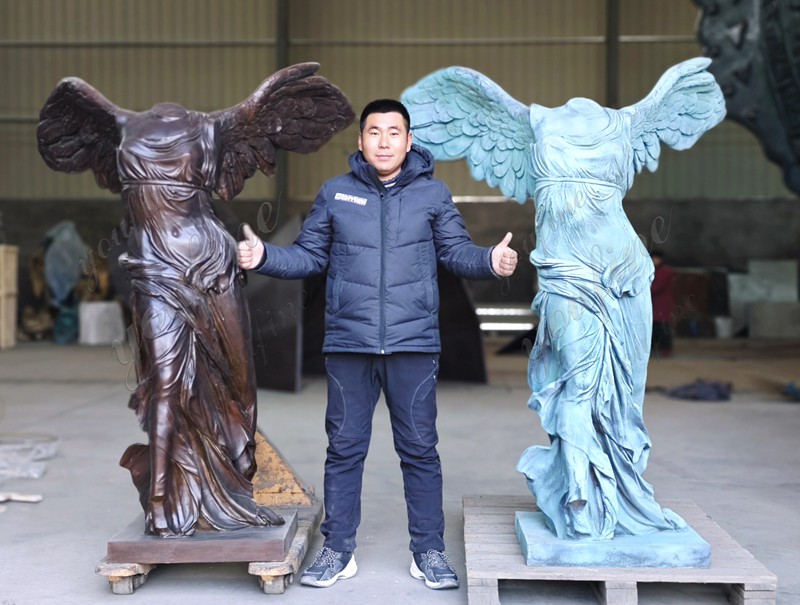
Step 10: Installing the Bronze Sculpture
Iron frame: Pre-built cement base
Copper sheets: add some copper sheets around the bottom of the sculpture, and punch holes in the copper sheets
Reinforcing bars: punch the hole in the ground and insert it into the reinforcement bars (the holes are filled with highly adhesive marble glue).
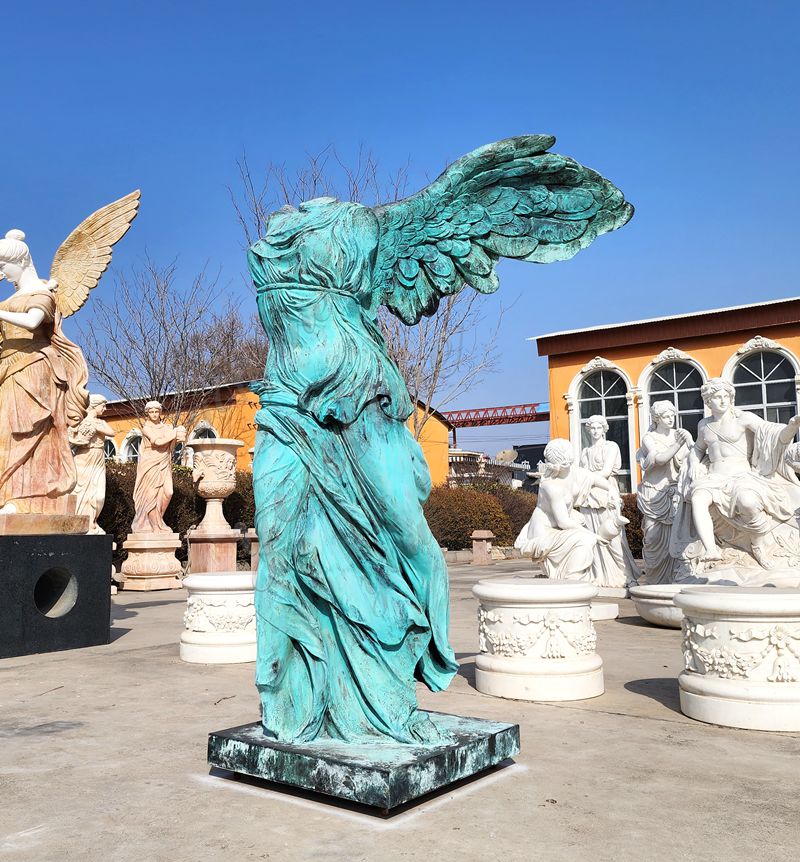
So you can find YouFine advantages of making bronze sculptures:
-Professional clay model artists, have professionally trained for more than 25 years, and each artist is specialized in different types of sculpture and focused on a long time, with rich experience.
-Making wax Molds according to the clay model of the sculpture;
-High bronze content;
-Adding unique silica sol, use the best white fine sand with very few sand holes;
-Professional patina artists;
-Purchase full insurance for our sculpture;
-Professional installation team and they could also guide installation in person!
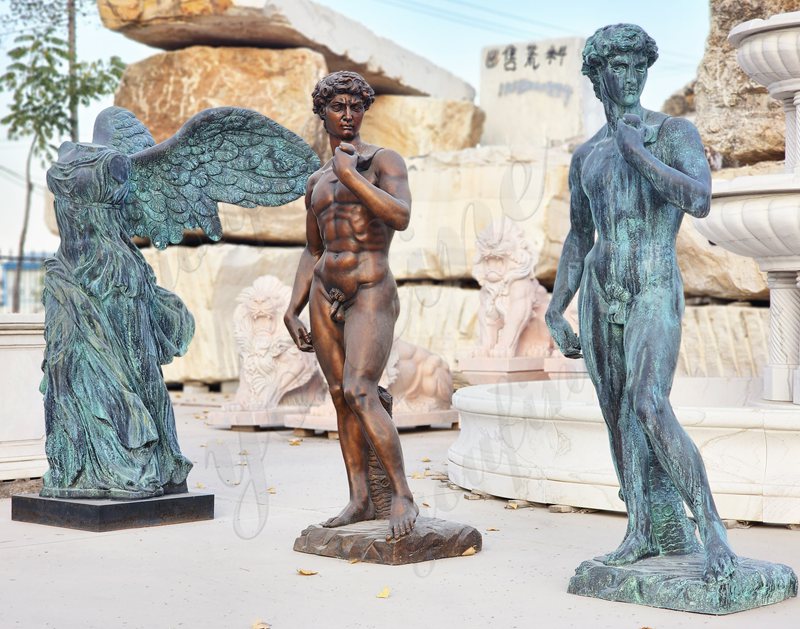
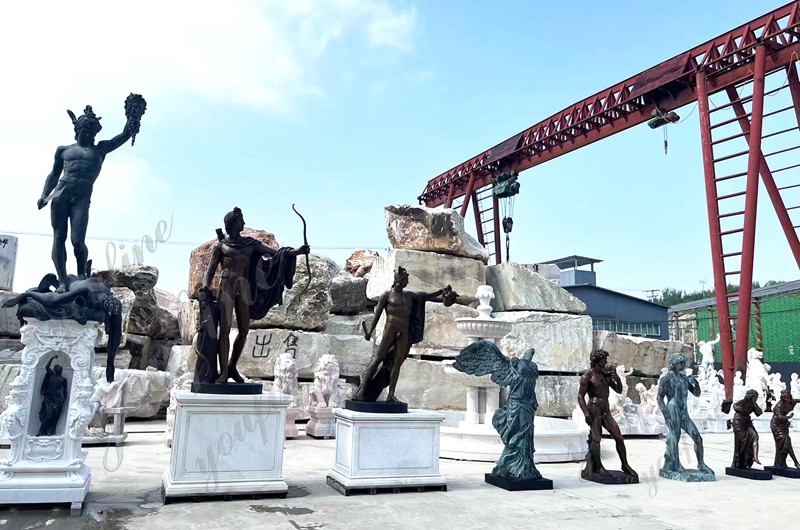
If you are interested in learning more details about our bronze sculpture, welcome to visit the YouFine Bronze Process.